|
|
Chat Application Example
Laravel Websockets
Author: Emad Zaamout
Sunday, May 1, 2021
Download at GithubTable of Contents
- What is WebSockets?
- How do WebSockets work?
- What are Pusher Channels?
- What is BeyondCode Laravel WebSockets?
- Create a new Laravel Project.
- Create Database.
- Install Laravel Websockets.
- Install Pusher PHP Server SDK.
- Run Queue and WebSockets Server.
- Laravel WebSockets Dashboard.
- Configure broadcasting and Websockets.
- Create Websockets connect API.
- Broadcasting & Channels.
- Frontend JavaScript
Introduction
Welcome back,
In this course, we will cover custom Laravel WebSocket Chat Application implementation using the Laravel framework.
We will not be using any third-party vendor for the WebSockets server. We will implement it from scratch, and we will use our server to handle all the WebSockets communications.
Before we get started, dont forget to subscribe to my channel to stay up to date with my latest training videos.
Course Overview
To learn WebSockets, its best to do it by an example.
The first part of the course, I will explain what WebSockets are and how they work.
The reason why I choice a chat application is because it involves everything you need to get started with WebSockets.
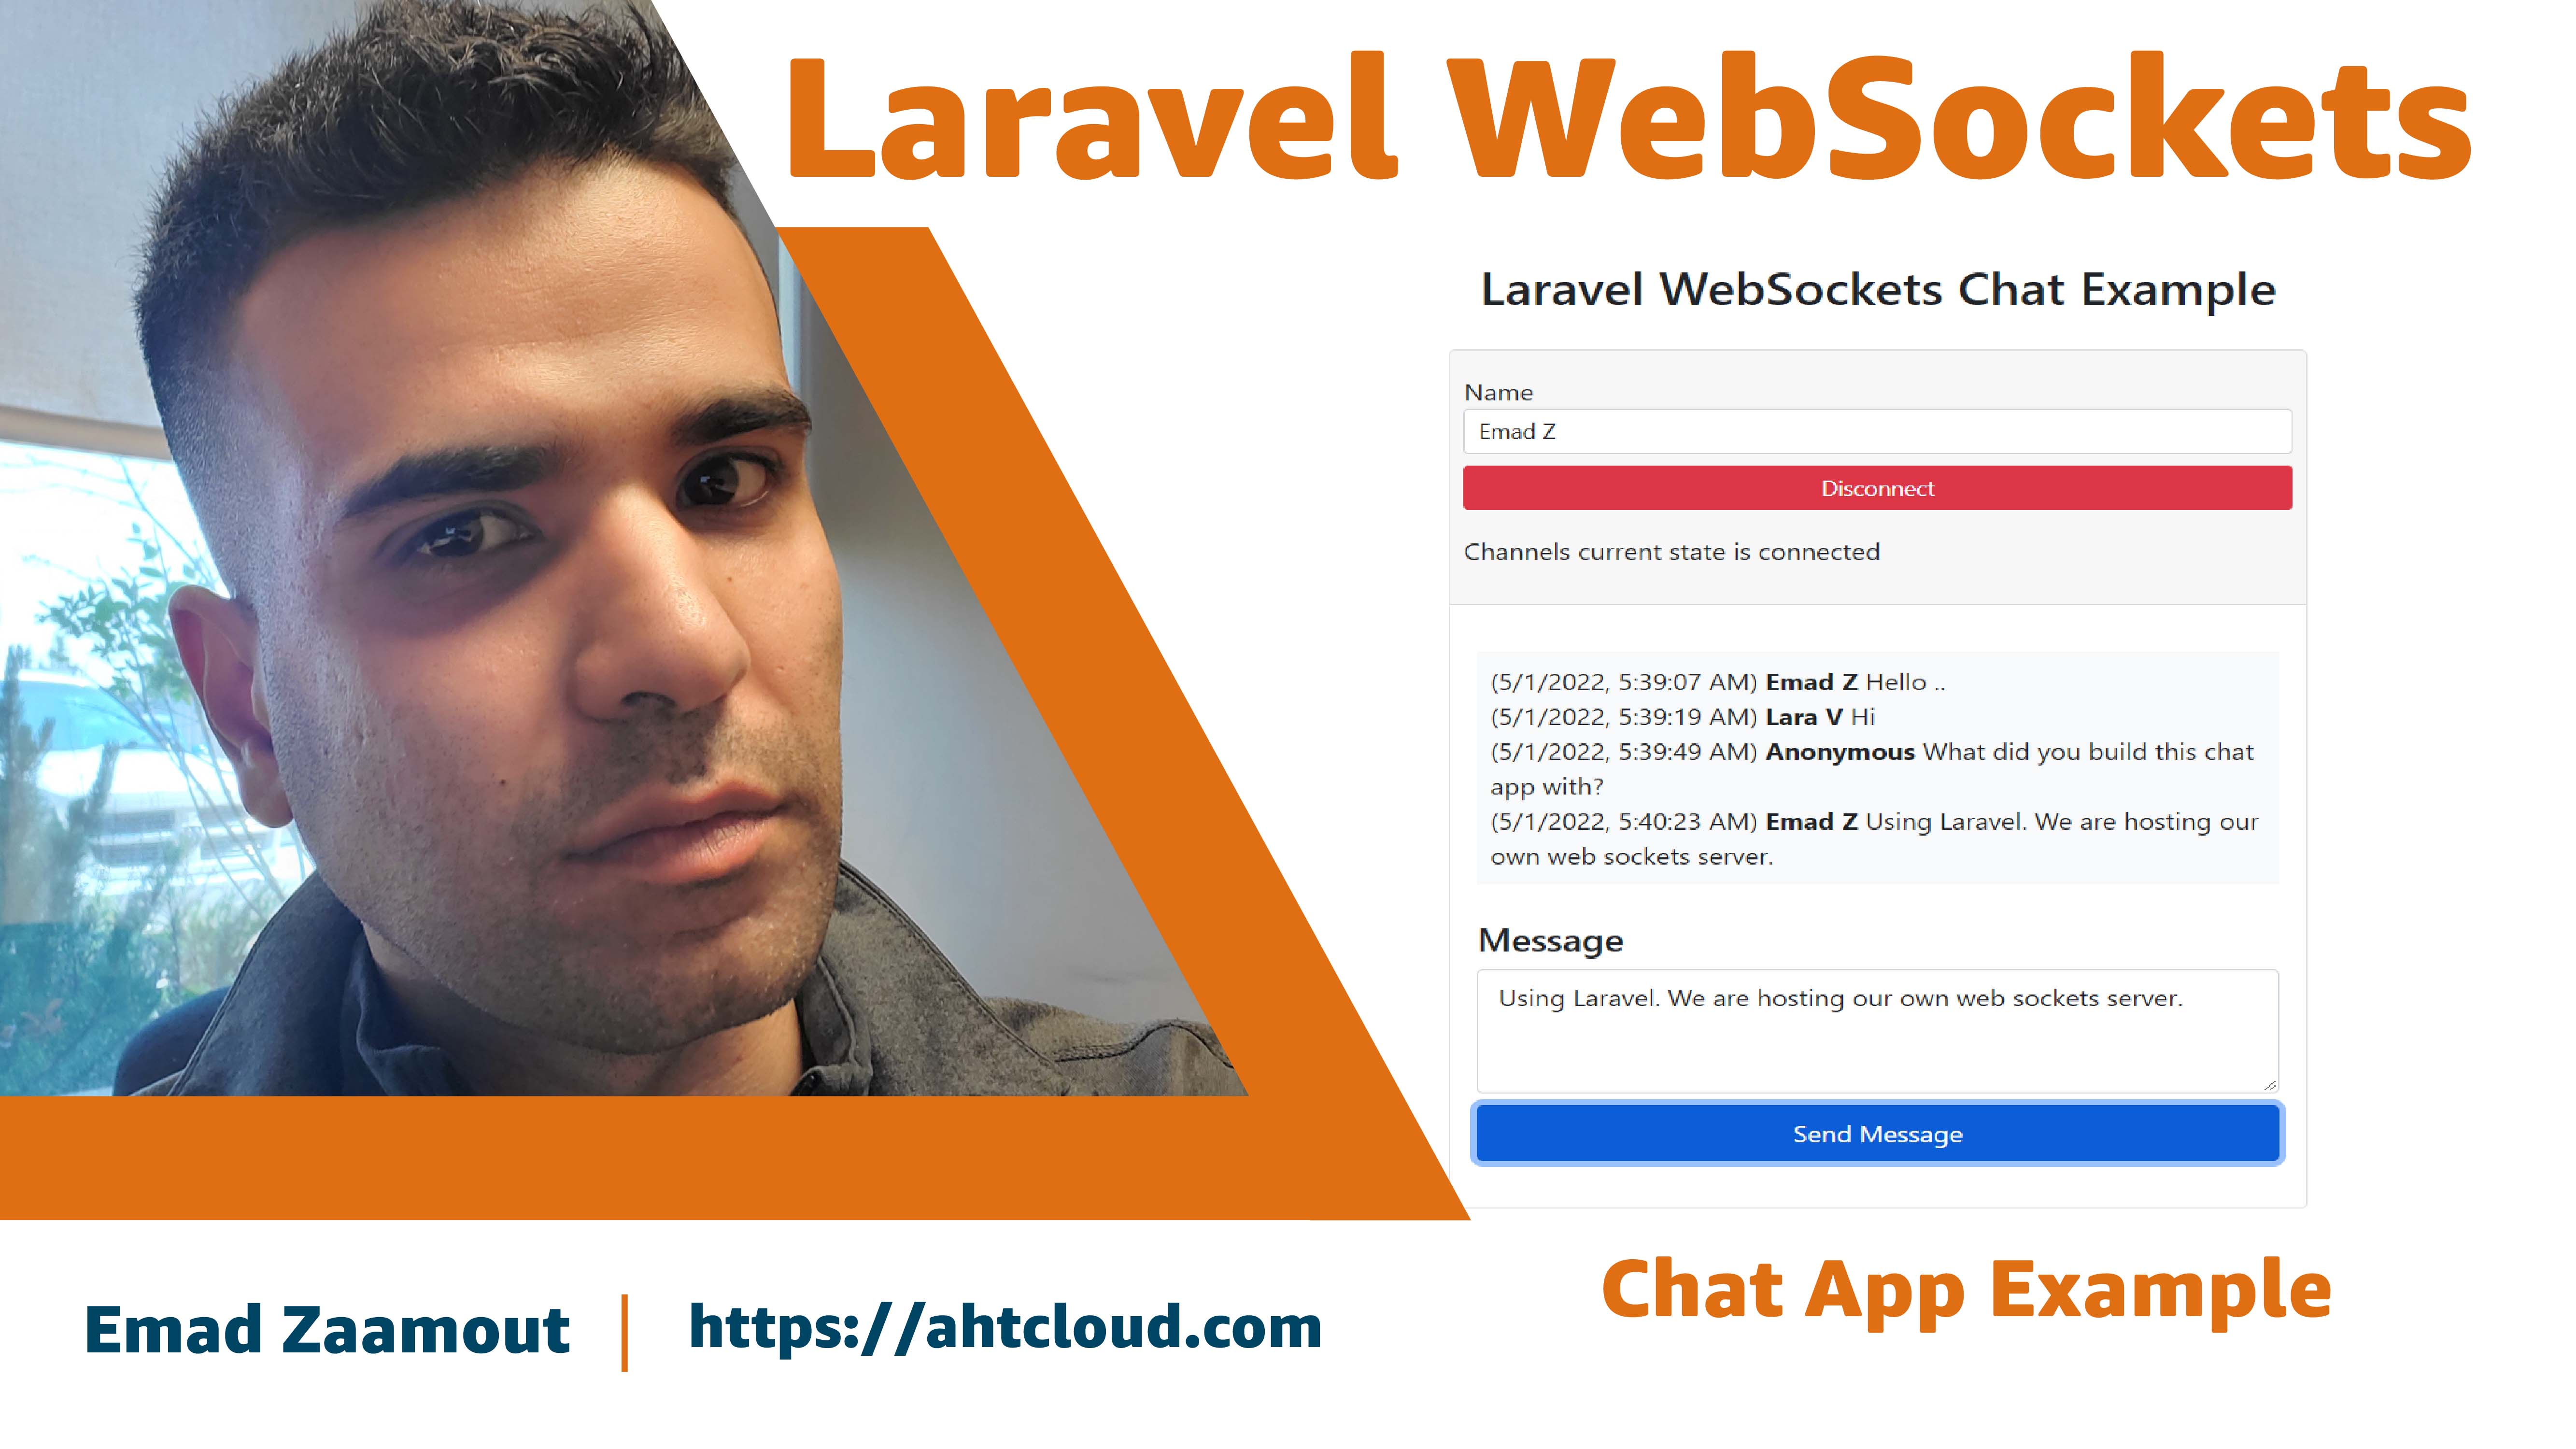
Before we get started, I wanted to show you a demo of what we will build first.
This is not a front-end course, so I will not focus on aesthetics but rather on how to establish a two-way communication system between your server and your users devices to provide updates in real-time.
What is WebSockets?
WebSocket is an API that lets you establish a two-way communication system in real-time between a user device and your server.
A user device can be for example, be the users browser or mobile phone or anything that can connect to a server.
To understand why you would want to use web sockets, ill give you a quick example.
So right now, lets say a user visits your website. Your server serves them the result based on your API implementation. Thats one way communication between the user and your server.
Sometimes you need to have two-way communication between your users device, and your server so that you can provide your users updates in real-time.
A great example is chat applications. Lets say one of your users has his mailbox open on his browser and someone sends him a message. Then we will need our servers to communicate with that users browser so that we can update the user interface and maybe display the message or prompt a notification in real-time without having them to reload their browser page.
How do WebSockets work?
WebSockets is basically an exposed API endpoint that you implement on your server.
By exposed I mean anyone can make a request to it.
Depending on your use case, you can have WebSockets endpoints that require authorization.
Whenever you decide to use WebSockets, you should be very cautious. If youre not validating requests, then hackers can take advantage of that.
Connecting to WebSockets is very similar to HTTP requests. However, its not the same. WebSocket is a communication protocol thats like HTTP, but its very different.
HTTP requests are one way. Meaning that a user can make a request to a server. WebSocket protocol is a two-way communication system between a device and a server.
To make any HTTP request on a server, its usually done through ports 80 for HTTP and 443 for HTTPS.
For Example:
http://ahtcloud.com:80 or https://ahtcloud.com:443
WebSockets use a different protocol. But its very similar. To make a WebSocket request, instead of using http, you use ws on port 6001. The https equivalent is wss and you can do that on port 443. It would look something like this:
ws://192.168.10.1.0:6001 (equivalent for http) or wss://192.168.10.1.0:443 (equivalent for https)
What are Pusher Channels?
If you read the Laravel documentation or if you started working in WebSockets, you will hear allot about Pusher.
Pusher Channels is a popular hosted WebSockets solution.
Instead of building your own WebSockets servers, you can just use theirs for a certain price.
In this course, we will learn how to implement our own WebSockets server instead. Its free, very easy to do and gives you full control.
What is BeyondCode Laravel WebSockets?
ByeondCode Laravel WebSockets is a package designed for Laravel 5.7 and up.
It will get your application started with WebSockets very quick.
It can be used as a Pusher replacement.
This means that you can still take advantage of using Laravels Pusher configuration and Pusher SDK without using their servers.
This can get you up and running with websockets real quick.
https://beyondco.de/docs/laravel-websockets/getting-started/introduction
Create a new Laravel Project.
I have already prepared my project on Vagrant Homestead. If you dont know how to set up your local environment, I suggest you watch my previous tutorial on how to set up your local environment.
I am using homestead, so Ill just show you quickly my homestead yaml file.
    ---
    ip: "192.168.10.10"
    memory: 5096
    cpus: 4
    provider: virtualbox
    authorize: ~/.ssh/id_rsa.pub
    keys:
        - ~/.ssh/id_rsa
    networks:
        - type: "public_network"
          bridge: "Killer E2400 Gigabit Ethernet Controller"
    folders:
        - map: D:/websites
          to: /etc/www/code/
    sites:
        - map: local.websocketsexample.com
          to: /etc/www/code/courses/websockets
          php: "8.1"
    features:
        - mysql: true
        - mariadb: false
        - postgresql: false
        - ohmyzsh: false
        - webdriver: false
        - rabbitmq: false
        - redis-server: false
    services:
        - enabled:
           - "mysql"
    ports:
        - send: 80
          to: 8080
        - send: 6001
          to: 6001
        - send: 33060 # MySQL/MariaDB
          to: 3306
        - send: 33060 # MySQL/MariaDB
          to: 3306
        - send: 54320 # postgresql
          to: 5432
        - send: 2222 # ssh tunnel
          to: 22
To create a new Laravel project using composer, run the following command:
composer create-project laravel/laravel websockets
Create Database.
Create a new database called laravel-websockets
To run the default Laravel migrations; run the following command:
php artisan migrate
Install Laravel Websockets.
Install using composer:
composer require beyondcode/laravel-websockets
Publish the migration files.
php artisan vendor:publish --provider="BeyondCode\LaravelWebSockets\WebSocketsServiceProvider" --tag="migrations"
Run your migrations.
php artisan migrate.
Publish the configuration file.
php artisan migrate.
Install Pusher PHP Server SDK.
First, we will download and use Pusher PHP Server SDK package. This will provide us with a complete WebSocket, and HTTP servers set up.
Install using composer:
composer require pusher/pusher-php-server
Run Queue and WebSockets Server.
To run Laravel Queue:
php artisan queue:work
Note, if your using database as your queue driver, then you will need to create a new jobs table and run your migrations.
    php artisan queue:table
    php artisan migrate
To run Laravel WebSockets server:
php artisan websockets:serve
Laravel WebSockets Dashboard.
The Laravel websockets package that we installed comes with a dashboard that you can use.
The path by default is set to "/laravel-websockets". To change the file path you will need to update your path variable value thats declared inside config/websockets.php.
Configure broadcasting and Websockets.
Update your .env file. Make sure to set PUSHER variables:
    BROADCAST_DRIVER=pusher

    PUSHER_APP_ID=staging
    PUSHER_APP_KEY=staging
    PUSHER_APP_SECRET=staging
    PUSHER_APP_CLUSTER=mt1

    LARAVEL_WEBSOCKETS_HOST=127.0.0.1
    LARAVEL_WEBSOCKETS_PORT=6001
Create Websockets connect API.
Before we create our API to connect with our websockets. You will need to create a new controller to handle the socket connections.
Create a new SocketsController controller inside app\Http\Controllers\SocketsController.php:
declare(strict_types=1);

namespace App\Http\Controllers;

use Illuminate\Broadcasting\Broadcasters\PusherBroadcaster;
use Illuminate\Http\Request;
use Pusher\Pusher;

class SocketsController
{
    public function connect(Request $request)
    {
        $broadcaster = new PusherBroadcaster(
            new Pusher(
                env("PUSHER_APP_KEY"),
                env("PUSHER_APP_SECRET"),
                env("PUSHER_APP_ID"),
                []
            )
        );

        return $broadcaster->validAuthenticationResponse($request, []);
    }
}
Now, lets go ahead and create our new Laravel Websockets Connect API. Update your routes/api.php file. Add the following route:
Route::post("/sockets/connect", [SocketsController::class, "connect"]);
Broadcasting & Channels.
Update your routes/channels.php and add a new channel "SendMessageEvent". By creating a new channel we can have our frontend connect to our websockets server and listen on our broadcasting channel.
We will then use this channel to update our frontend once a new chat message is received. This will allow our frontend to update the chat display.
    Broadcast::channel("SendMessageEvent", function () {
        return [
            "name" => $this->name,
            "message" => $this->message,
            "time" => $this->time
        ];
    });
Once we receive a new message. We will update our broadcast channel and pass in our event. We will call our event, SendMessage. Go ahead and create a new folder called "Events" inside your "app" directory.
    namespace App\Event
    use Illuminate\Broadcasting\Channel;
    use Illuminate\Broadcasting\InteractsWithSockets;
    use Illuminate\Broadcasting\PresenceChannel;
    use Illuminate\Broadcasting\PrivateChannel;
    use Illuminate\Contracts\Broadcasting\ShouldBroadcast;
    use Illuminate\Foundation\Events\Dispatchable;
    use Illuminate\Queue\SerializesModel
    class SendMessage implements ShouldBroadcast
    {
        use Dispatchable, InteractsWithSockets, SerializesModel
        public string $name;
        public string $message;
        public string $time

        public function __construct(string $name, string $message, string $time)
        {
            $this->name = $name;
            $this->message = $message;
            $this->time = $time;

        public function broadcastWith() {
            return [
                "name" => $this->name,
                "message" => $this->message,
                "time" => $this->time
            ];

        /**
        * Get the channels the event should broadcast on.
        *
        * @return  \Illuminate\Broadcasting\Channel|array
        */
        public function broadcastOn()
        {
            return new Channel("SendMessageEvent");
        }
    }
Frontend JavaScript
Before we can create our frontend, we will need to create a post API to send a message. Once a message is sent we will then dispatch our event. Our frontend will be listening to our channel through our websockets server.
To make it a little simple, we will just declare our new route inside web.php.
    use App\Events\SendMessage;
    use BeyondCode\LaravelWebSockets\Apps\AppProvider;
    use BeyondCode\LaravelWebSockets\Dashboard\DashboardLogger;
    use Illuminate\Http\Request;
    use Illuminate\Support\Facades\Route;

    Route::get('/', function (AppProvider $appProvider) {
        return view('chat-app-example', [
            "port" => env("LARAVEL_WEBSOCKETS_PORT"),
            "host" => env("LARAVEL_WEBSOCKETS_HOST"),
            "authEndpoint" => "/api/sockets/connect",
            "logChannel" => DashboardLogger::LOG_CHANNEL_PREFIX,
            "apps" => $appProvider->all()
        ]);
    });

    Route::post("/chat/send", function(Request $request) {
        $message = $request->input("message", null);
        $name = $request->input("name", "Anonymous");
        $time = (new DateTime(now()))->format(DateTime::ATOM);
        if ($name == null) {
            $name = "Anonymous";
        }
        SendMessage::dispatch($name, $message, $time);
    });
Our final step is to create our frontend. Create a new view file (inside "resources/views/chat-app-example.blade.php")
resources/views/chat-app-example.blade.php